Areas & Trades
Areas and trades replace the previous tag system and give you a structured way to organize your construction project by location and specialty.
Areas
Areas represent physical locations or spaces within your project -- rooms, floors, exterior zones, or any logical grouping of space. Areas are hierarchical, so you can nest them to reflect the actual structure of your home.
Examples
- Ground Floor > Kitchen, Living Room, Bathroom
- First Floor > Master Bedroom, Guest Room, Hallway
- Exterior > Garden, Garage, Driveway
Creating Areas
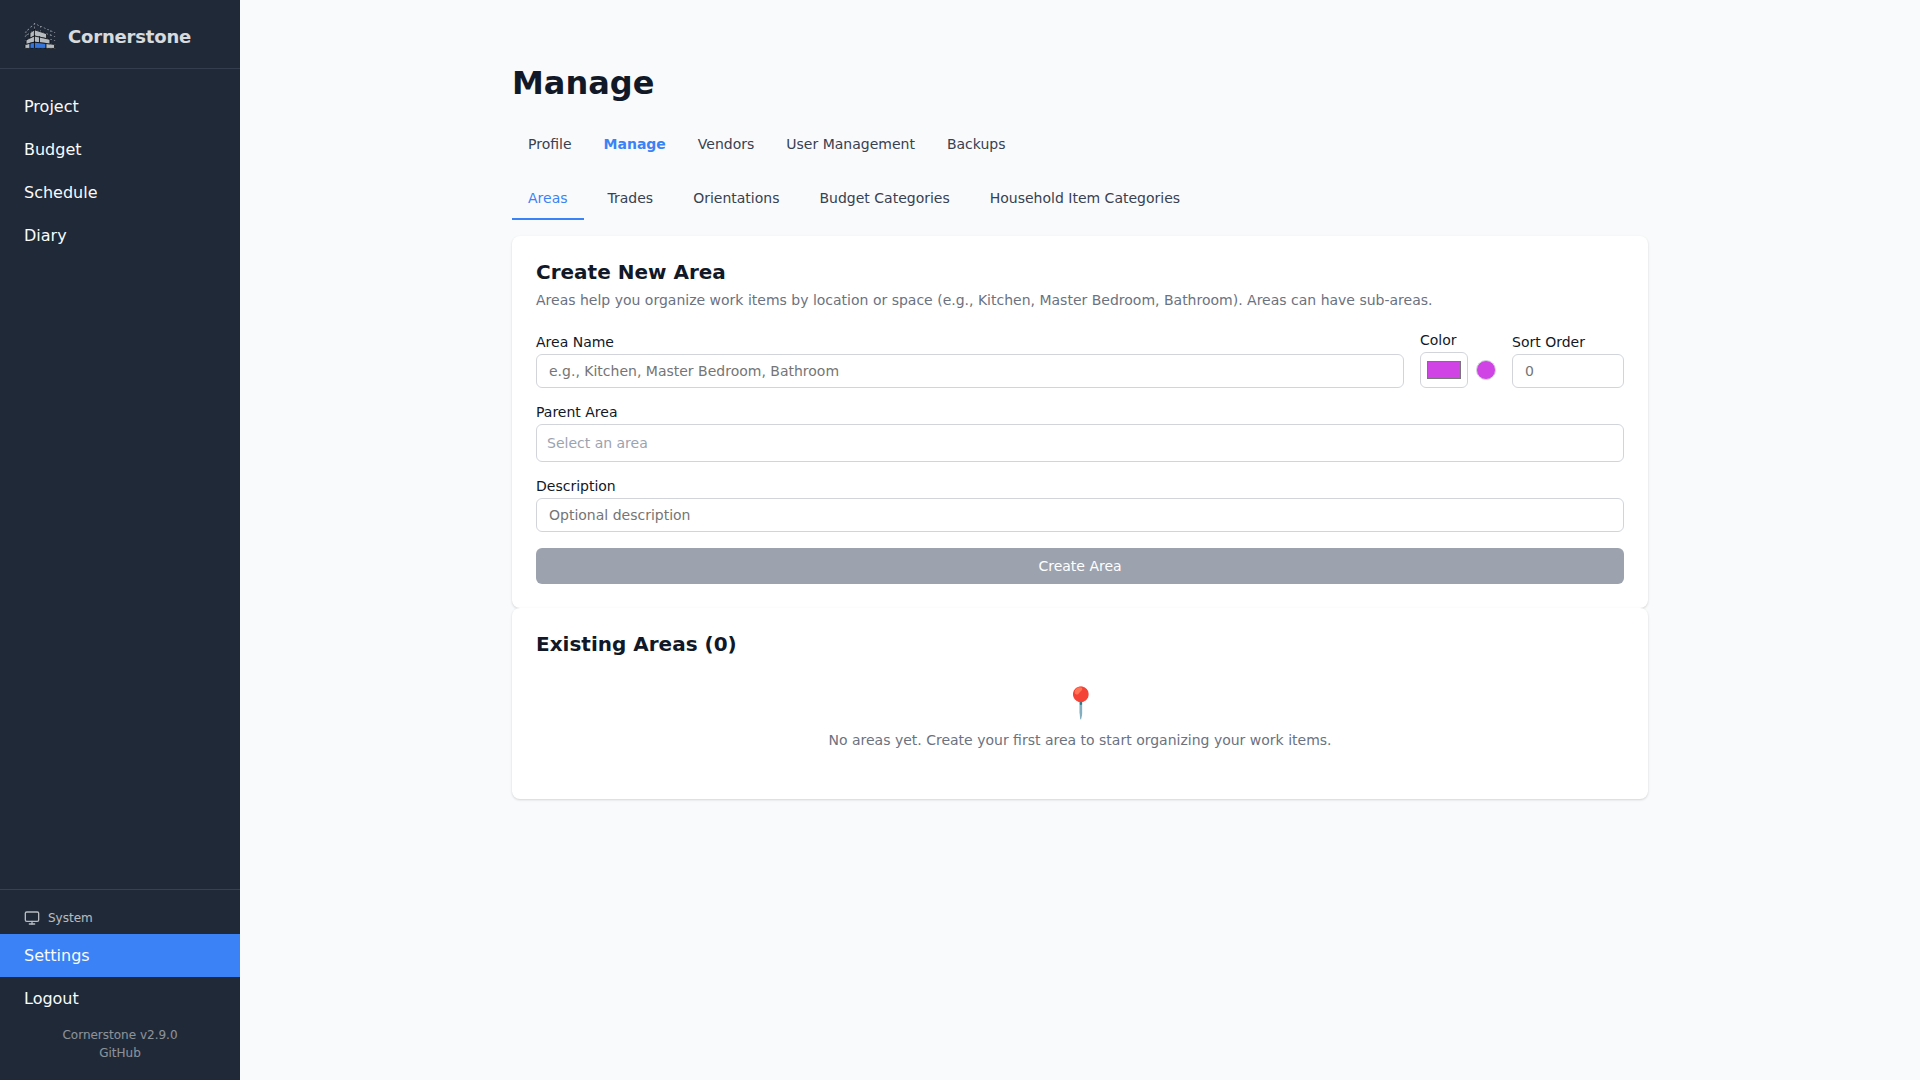
Navigate to Manage in the sidebar to access the areas and trades management page. Under the Areas section, click Add Area and provide:
- Name -- A short label (e.g., "Kitchen")
- Color -- Pick from a color palette for visual identification
- Description -- Optional details about the area
- Parent Area -- Optionally nest this area under an existing one
Hierarchy
Areas can be nested to any depth. A parent area implicitly includes all its children -- for example, filtering work items by "Ground Floor" will also show items assigned to "Kitchen", "Living Room", and any other child areas. Filters support arbitrary hierarchy depth, so deeply nested trees resolve correctly across every list page.
Assigning Areas
When creating or editing a work item or household item, select an area from the area picker. The picker displays the full hierarchy so you can quickly find the right location.
Area Breadcrumbs Everywhere
Once you assign an area, Cornerstone displays the full ancestor path as a breadcrumb (e.g. House / Ground Floor / Kitchen) wherever the item surfaces:
- Work item and household item lists, detail pages, and create pages
- Pickers that let you select a work item, household item, or budget line (the area appears as a secondary line under the title)
- Embedded references -- diary entries, invoices, and household item dependencies that point back to a work item
- The Budget Overview cost breakdown and the Budget Sources line panel (grouped by the full area hierarchy)
The breadcrumb keeps each item grounded in its location at a glance, without having to click through to the detail page.
The "No Area" Option
Not every item has an area assigned -- maybe it is a project-wide task, an administrative item, or something you have not classified yet. The Work Items and Household Items lists include a dedicated No Area filter option that surfaces exactly those items, separate from any real area. The Budget Overview uses the same label ("No Area") for the bucket of budget lines whose work item or household item has no area assigned.
Trades
Trades represent specialties of work -- the types of professional services involved in your project. Unlike areas, trades are flat (no hierarchy).
Examples
- Electrical
- Plumbing
- Carpentry
- Painting
- HVAC
- Landscaping
Creating Trades
On the Manage page, under the Trades section, click Add Trade and provide:
- Name -- A short label (e.g., "Electrical")
- Color -- Pick from a color palette for visual identification
- Description -- Optional details about the trade
Linking Vendors to Trades
Each vendor can be assigned a trade to indicate their specialty. When creating or editing a vendor, select a trade from the dropdown. This makes it easy to see which vendors cover which types of work.
Managing Areas & Trades
From the Manage page you can:
- Edit an area or trade's name, color, or description
- Reorder items using drag handles or sort order
- Reparent an area by changing its parent
- Delete an area or trade (this removes the association from all items that use it)